1 May 2024
How to Prepare Your Home for Real Estate Photography
A practical checklist for vendors and agents. Simple preparation before the photographer arrives makes a measurable difference to the finished images.
The quality of your listing photography depends on two things: the photographer’s skill, and how well the property is prepared before they arrive. The second factor is entirely in your control, and it has a bigger impact on the final images than most vendors realise.
Here’s what we ask agents to communicate to their vendors — and what we check ourselves when we arrive on site.
The morning of the shoot
Open every blind and curtain. Natural light is your best friend in real estate photography. Closed blinds create flat, dark interiors that require heavy artificial lighting to compensate. Open everything fully — even rooms that don’t feel particularly bright will photograph better flooded with daylight.
Turn on every light. Overhead lights, bedside lamps, kitchen under-bench lighting, bathroom vanity lights, outdoor fairy lights — everything. Mixed light sources add warmth and depth. A room that looks “lived in” and comfortable in the photographs is a room buyers want to be in.
Set the heating or cooling to a comfortable temperature. This sounds obvious but is often overlooked. Photographers spend hours in the property; a comfortable environment means more care and attention in each room.
Kitchens and bathrooms
Remove everything from kitchen benchtops except for one or two styled items — a fruit bowl, a coffee machine, a vase of flowers. Benchtops that are clear of appliances, cords, and daily clutter photograph significantly better.
In bathrooms: put away all personal care products, replace hand towels with fresh ones, close toilet lids, and wipe down mirrors. Mirrors are often the largest reflective surface in a bathroom and will show everything behind the camera if not cleaned.
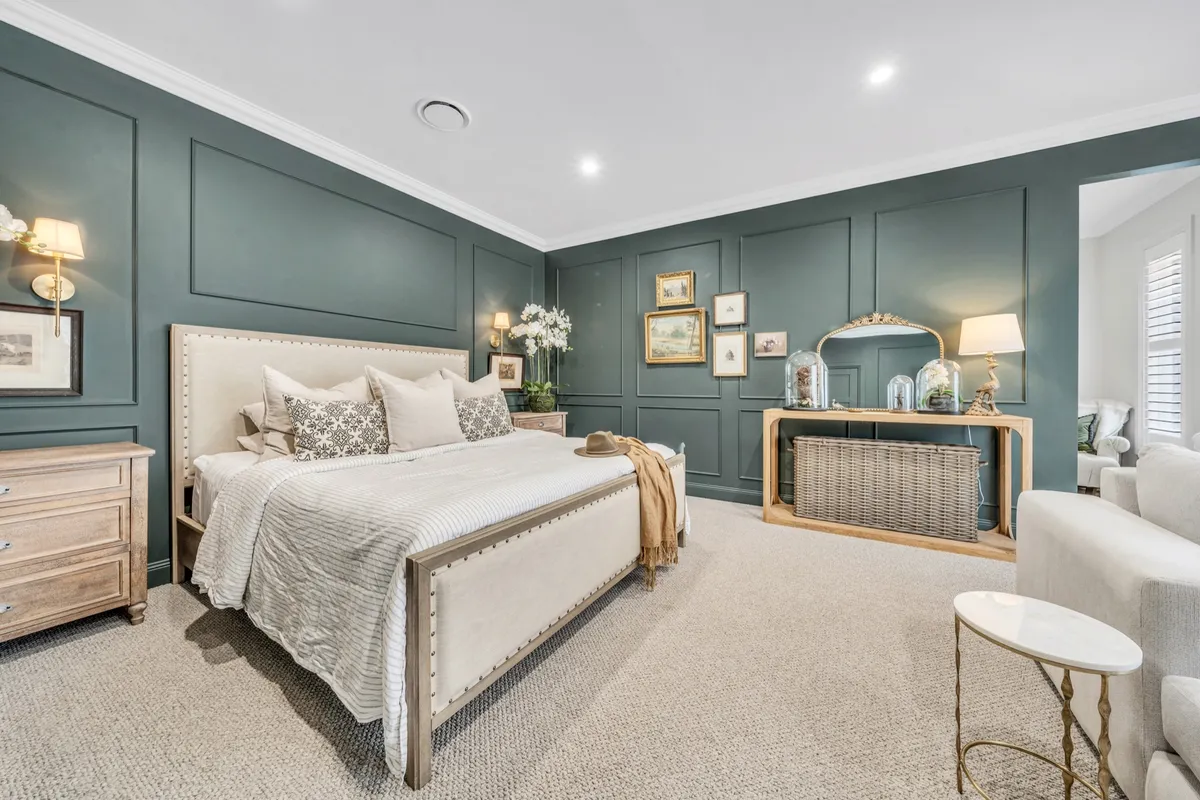
Living areas and bedrooms
Straighten cushions and make beds as neatly as possible — pull tight, fold corners, fluff pillows. Remove remote controls, phone chargers, pet bowls, children’s toys, and any temporary furniture that doesn’t belong in the final images.
In living areas, consider the sight lines from the entry point of the room. A dining table set for dinner can look staged in a good way. A sofa with a throw rug placed casually over one arm adds warmth without looking forced.
Exterior and garden
Mow the lawn — ideally the day before the shoot, not the morning of (freshly cut grass needs a few hours to settle). Edge the garden beds, blow away leaf debris, and remove any bins, hoses, or outdoor furniture that clutters the driveway or front yard.
Cars should be moved from the driveway and the front of the property. A clear driveway makes the home’s facade the focal point. For kerb appeal shots, we typically want a clean foreground with nothing competing with the architecture.
For twilight shoots
Twilight sessions happen within 20–40 minutes of sunset, so preparation needs to be complete before the sun goes down. In addition to everything above:
- Turn on all exterior lights — porch lights, garden path lighting, pool lights, driveway bollards
- Ensure the pool or spa is clean and uncovered
- Close garage doors unless they’re a design feature you want to show
- Make sure any outdoor seating areas are styled and clean
What the photographer handles
A good real estate photographer will do some light styling on site — adjusting cushions, straightening artworks, removing small items that are catching the light in an unflattering way. What they can’t do is a full declutter or deep clean on the day. Arriving at a well-prepared property means more time spent composing and capturing, and less time rearranging.
At Photastic Shots we send a preparation checklist to agents 48 hours before every shoot. Get in touch to book a shoot and we’ll make sure your vendor is set up for the best possible result.